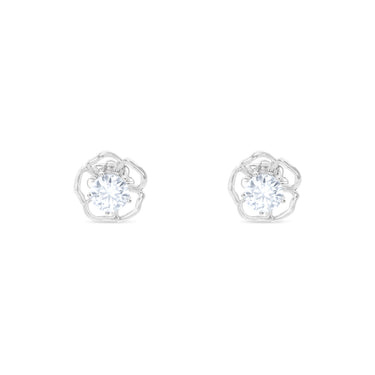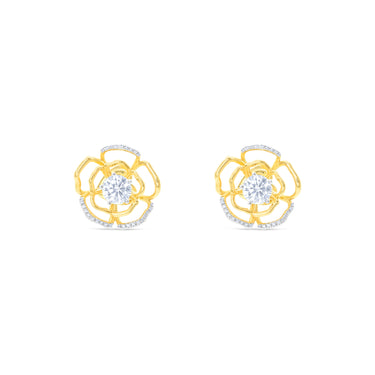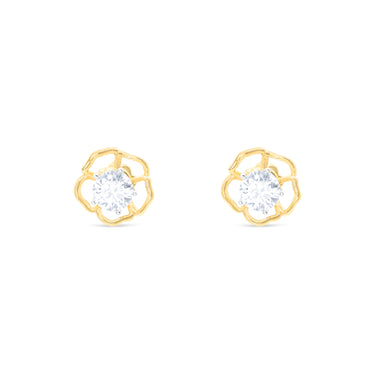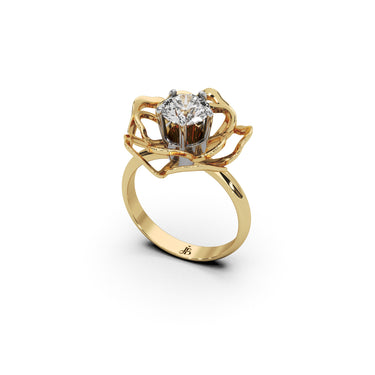


A ring rendering becomes an approval document when its beauty is connected to measurements. The center, side stones, shank and wedding-band clearance need a shared written specification. Keep the design version with the decisions it represents.
Request the views that answer different questions
A face-up view shows the arrangement of stones and the band outline. A true side view shows setting height and underside structure. A front or end view can reveal how the shoulders and basket relate to the finger.
A rotating perspective image helps explain volume, but should accompany rather than replace the dimensional views.
Confirm what is real and what is proposed
Ask whether the model uses the actual stone measurements or a representative placeholder. A nominal carat weight does not uniquely determine length, width and depth.
If the stone selection changes, request a review of any affected dimensions. A design built around one depth or outline may not accommodate another stone without modification.
Colors in a render are illustrative. A screen cannot certify diamond color or recreate every gold alloy and surface finish precisely. Use real material samples and stone documentation where those choices matter.
Check wearing details
Discuss the prong shape, basket access, smoothness of edges and contact between neighboring rings. Consider sleeves, gloves and ordinary hand movement rather than approving only the most flattering view.
Try a representative band or a suitable physical model when available. A CAD image cannot predict how the interior profile feels between your fingers.
For a stack, clarify the exact wedding-band width and profile being accommodated. “A band will fit” is less useful than identifying the band and the intended clearance.
Understand the finished specification
Ask which dimensions are final targets and which are model dimensions subject to finishing. The workshop should explain relevant tolerances without presenting every pixel as an exact measurement.
Confirm metal and finish, engraving text and position, stone orientation, and the treatment of decorative details. Check spelling and any dates independently before approval.
Keep a clear approval record
Retain the dated design version, agreed specifications and any written changes. Confirm what the maker's terms say about changes after approval, production timing and future adjustments; policies vary.
This checklist does not imply that every workshop uses the same digital process. It provides the questions to ask whether the proposal is presented as CAD, drawings or a physical model.
Copy this approval record
| Field | Agreed detail |
|---|---|
| Design reference and revision date | Fill in |
| Stone IDs and length × width × depth | Fill in for each principal stone |
| Ring size and sizing system | Fill in |
| Shank width and finished thickness targets | Fill in |
| Interior profile | Describe |
| Height and measurement reference points | Fill in |
| Prong or bezel treatment | Describe |
| Intended wedding band and clearance | Name the actual band |
| Metal, color and surface finish | Fill in |
| Engraving, orientation and spelling | Copy final text |
| Dimensions affected by finishing | Record the maker's explanation |
| Changes after approval | Record the applicable terms |
For example, “oval ring, 1.5 carats” does not give a workshop the same information as an identified stone with confirmed dimensions. If a placeholder in the model is 9 × 6 × 3.8 mm and the selected stone is 10 × 6.5 × 4.2 mm, review the seat, basket, height and spacing again. These are illustrative dimensions, not a proposed Just Brilliant design.
Mark unresolved details before approval. A later message changing one item should reference the same design version, so that an attractive image and an outdated specification cannot be mistaken for one agreed proposal.
Approval should leave you with a design you can describe without the rendering. Clear measurements and a dated record make that possible.
Sources: GIA guide to building an engagement ring; GIA ring-setting guide.